Wood Veneer Panels: A Technical and Practical Guide to Materials and Application
The Comprehensive Guide to Wood Veneer Panels
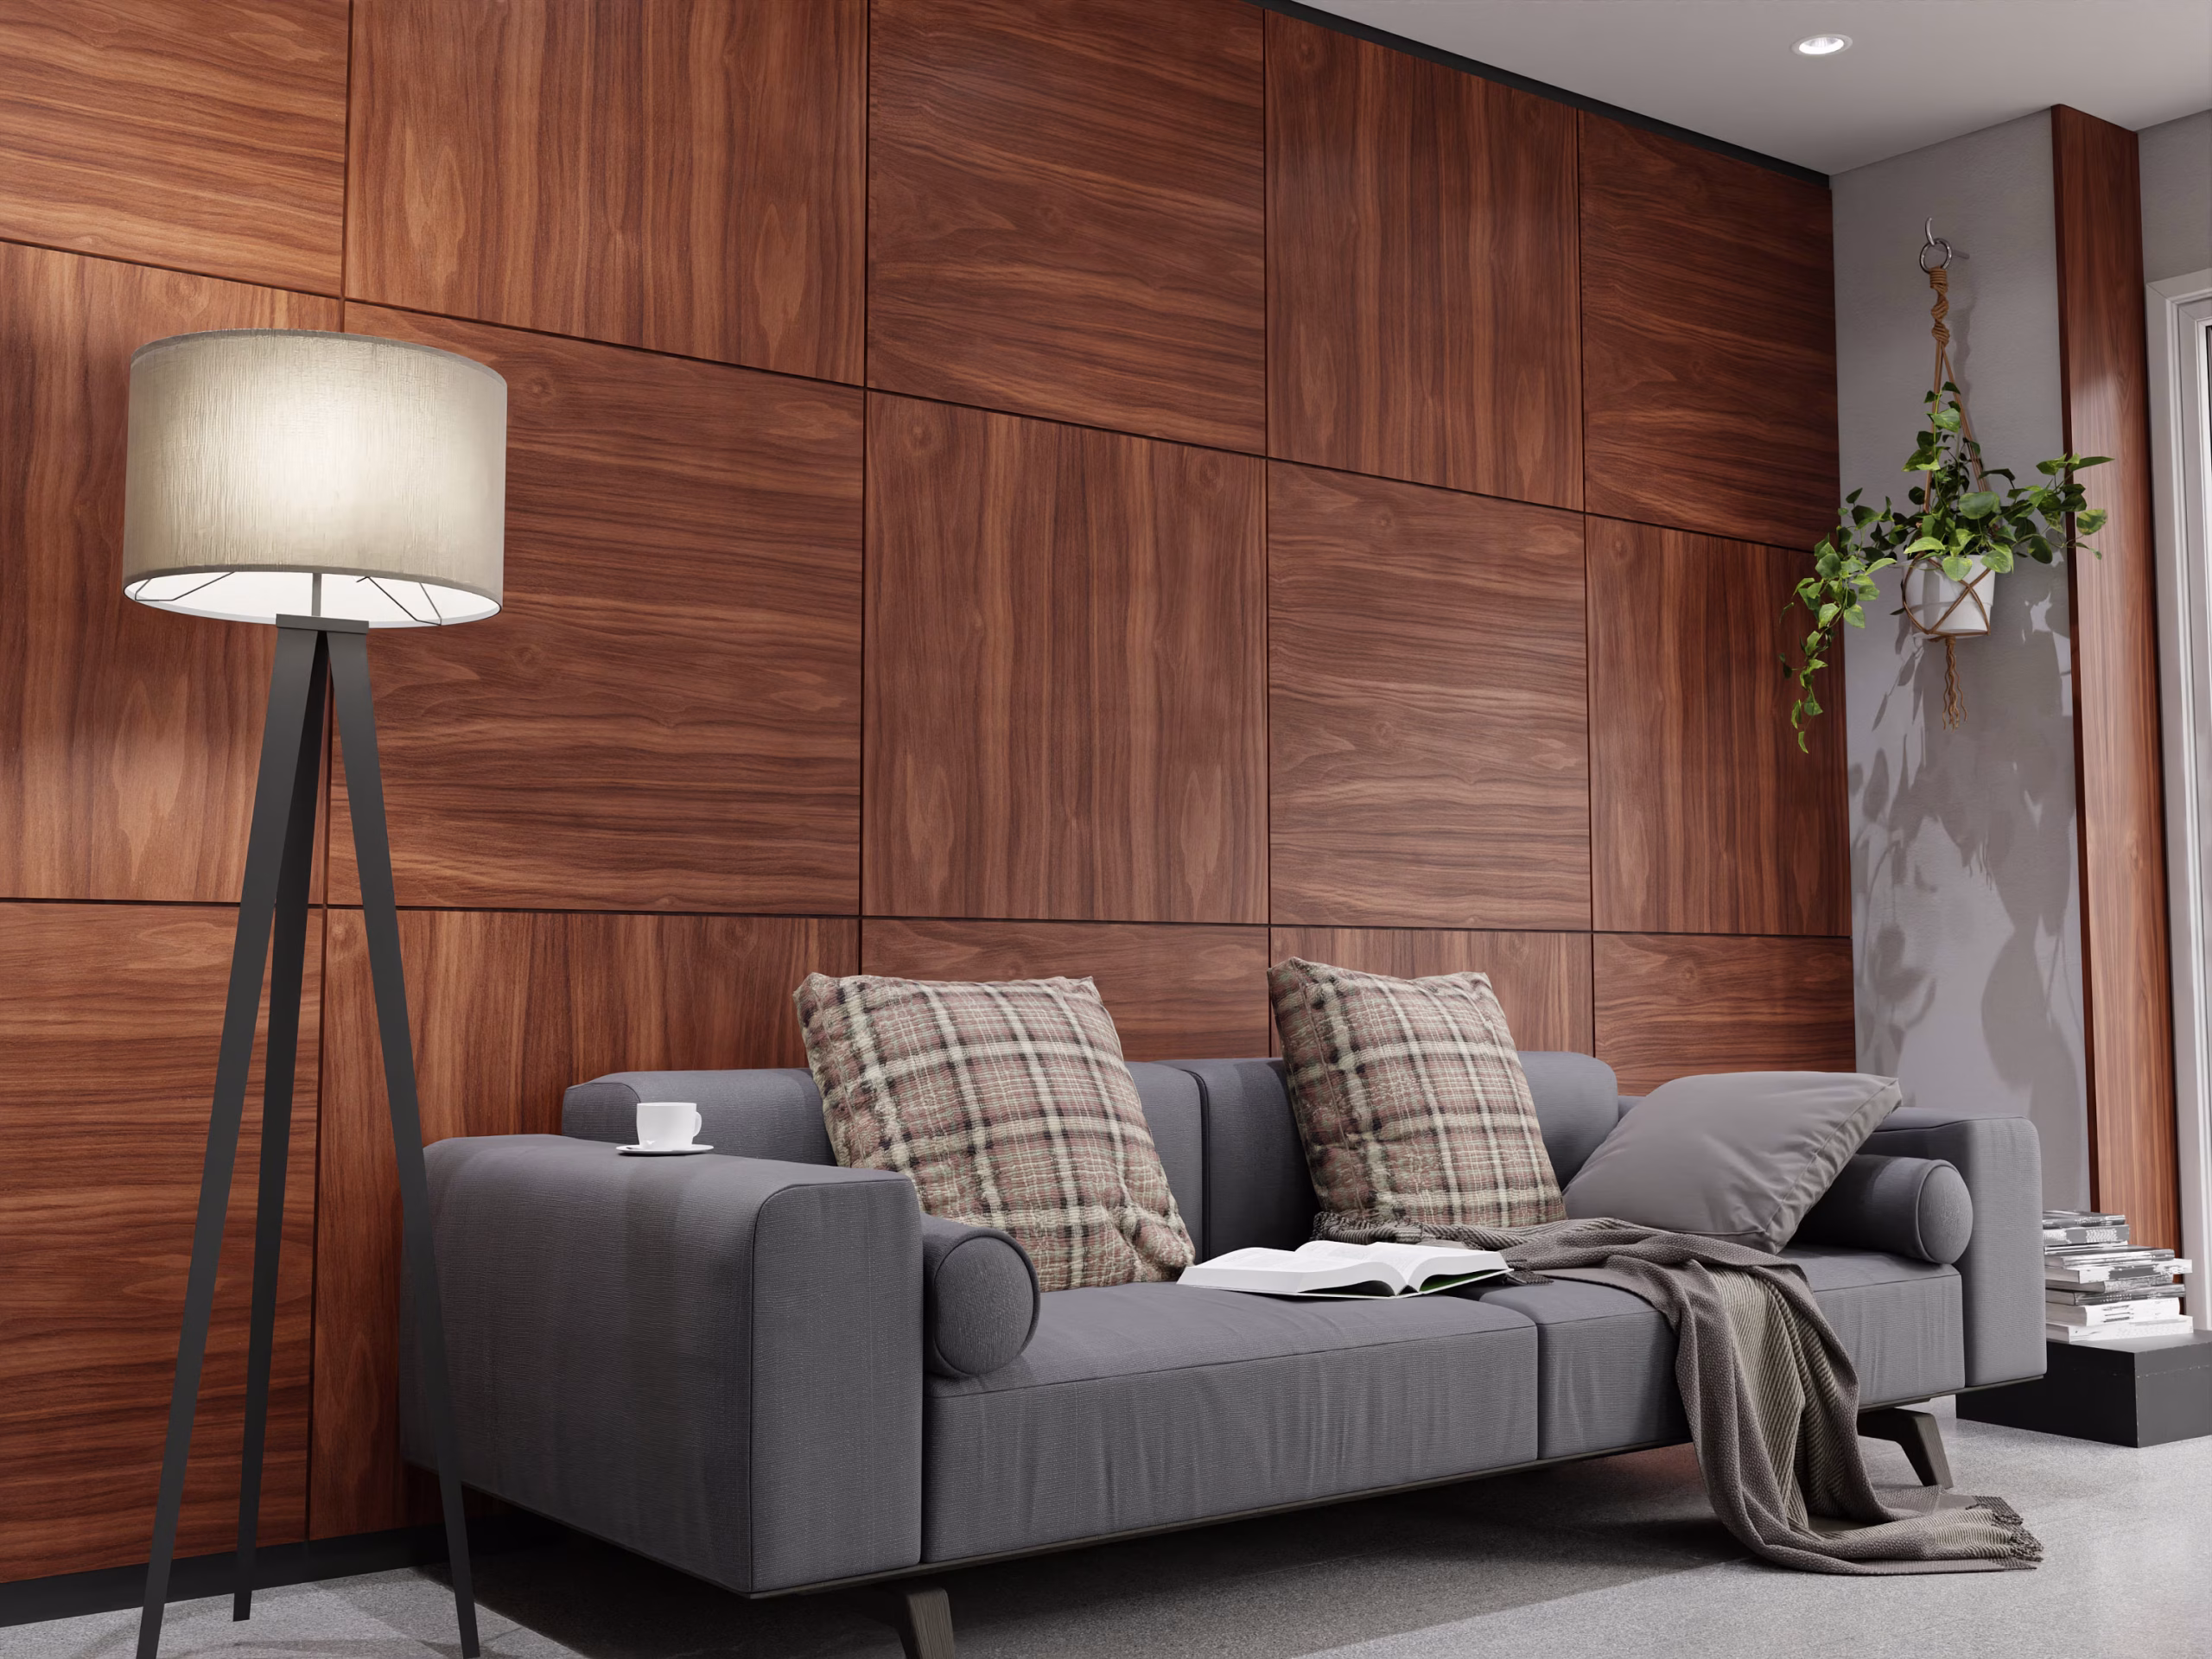
Wood veneering is an ancient architectural craft that has evolved into a highly sophisticated industrial process. A veneer is a thin slice of natural timber—typically less than 1/40 of an inch thick—that is bonded to a stable substrate or core. This process allows for the production of expansive, high-quality surfaces that exhibit the natural beauty of rare or expensive hardwoods while utilizing the structural stability and resource efficiency of engineered wood products.
Understanding the technical attributes and logistical requirements of wood veneer panels is essential for successful interior planning and product evaluation. This guide provides a neutral, detailed overview of slicing methods, core types, and the practicalities of long-term surface preservation. Readers will gain insight into how these panels are manufactured, how to plan for their installation, and how to implement maintenance protocols that protect the biological integrity of the wood for decades.

Overview of Wood Veneer Panels
The core concept of wood veneer panels centers on the optimization of natural resources. In solid wood construction, the entire thickness of a board is composed of a single species, which can be prone to warping, cupping, or splitting due to changes in humidity. Veneering solves these mechanical issues by bonding a thin “face” of decorative wood to a dimensionally stable core, such as Medium Density Fiberboard (MDF), plywood, or particleboard. This composite construction ensures that the final panel remains flat and structurally sound over a much larger surface area than solid timber could achieve.
People commonly approach veneer panels when seeking a specific visual “grain match” that is impossible to find in solid wood. Because many slices are taken from a single log (known as a flitch), designers can arrange the veneers in repeating or mirrored patterns. Typical expectations involve a high degree of aesthetic consistency and a surface that feels identical to solid wood. The outcome of a well-executed veneer project is a permanent architectural feature that combines the visual luxury of timber with the predictable performance of modern engineering.
Key Categories and Slicing Methods
The appearance of a veneer panel is determined primarily by how the log was sliced. Each method produces a distinct grain pattern from the same species of wood.
Veneer Category and Slicing Comparison Table
| Category / Type | Description | Common Use Case | Effort / Cost Level |
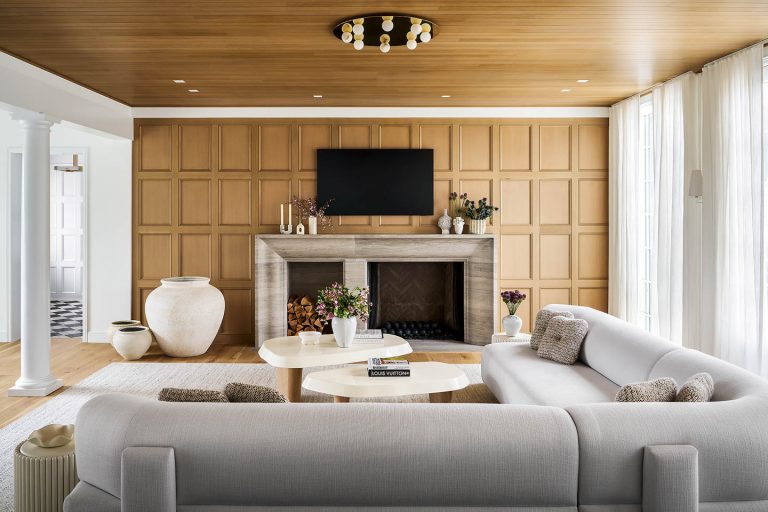
| Plain Sliced | Sliced parallel to the center of the log; produces “cathedrals.” | Traditional cabinetry; wall paneling. | Moderate |
| Quarter Sliced | Sliced perpendicular to growth rings; produces straight lines. | Modern minimalist furniture; high-end offices. | High |
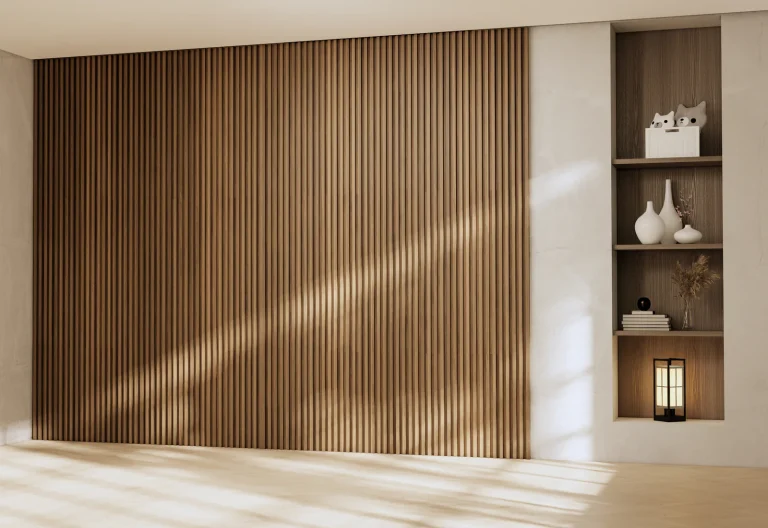
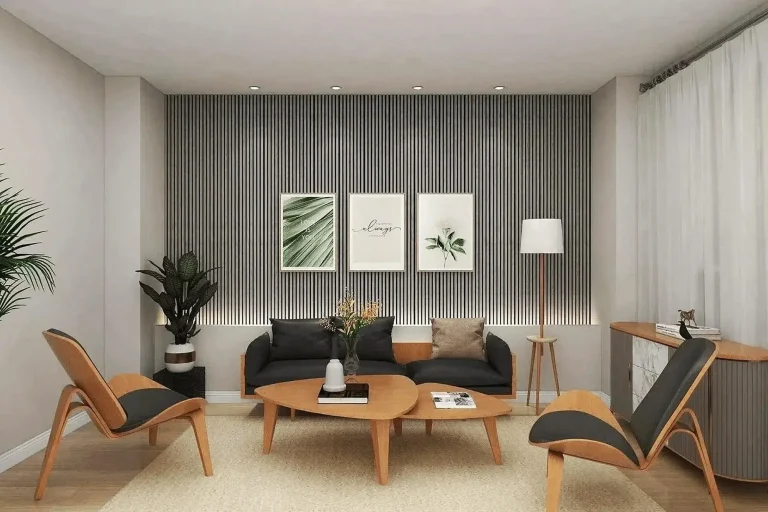
| Rift Sliced | Sliced at a 15-degree angle to growth rings; eliminates “fleck.” | Linear contemporary designs; large-scale walls. | High |
| Rotary Sliced | Log is peeled on a lathe; produces wide, random grain. | Utility plywood; hidden structural components. | Low |
| Reconstituted | Real wood fibers dyed and re-glued to mimic rare species. | Sustainable commercial projects; uniform grain. | Moderate |
Choosing between these categories involves balancing the desired visual “rhythm” against the budget. Plain slicing is the most common and cost-effective method for residential use. Quarter and rift slicing are more expensive because they result in more waste and smaller individual sheets (leaves), but they offer the highest degree of dimensional stability and a sophisticated, linear aesthetic.
Practical Scenarios or Thematic Applications
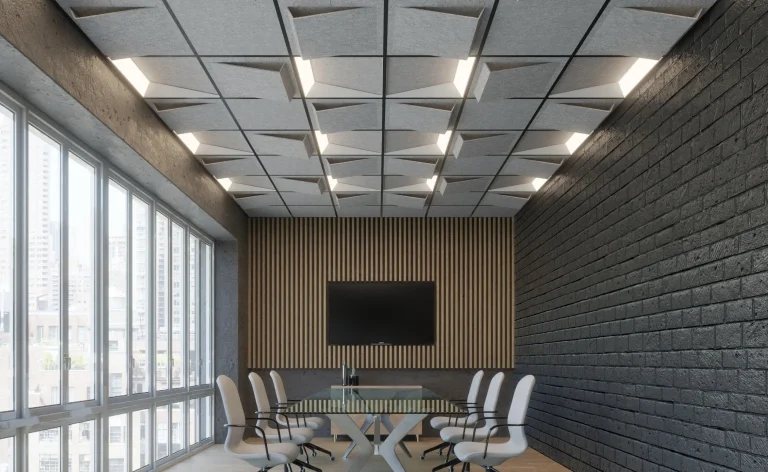
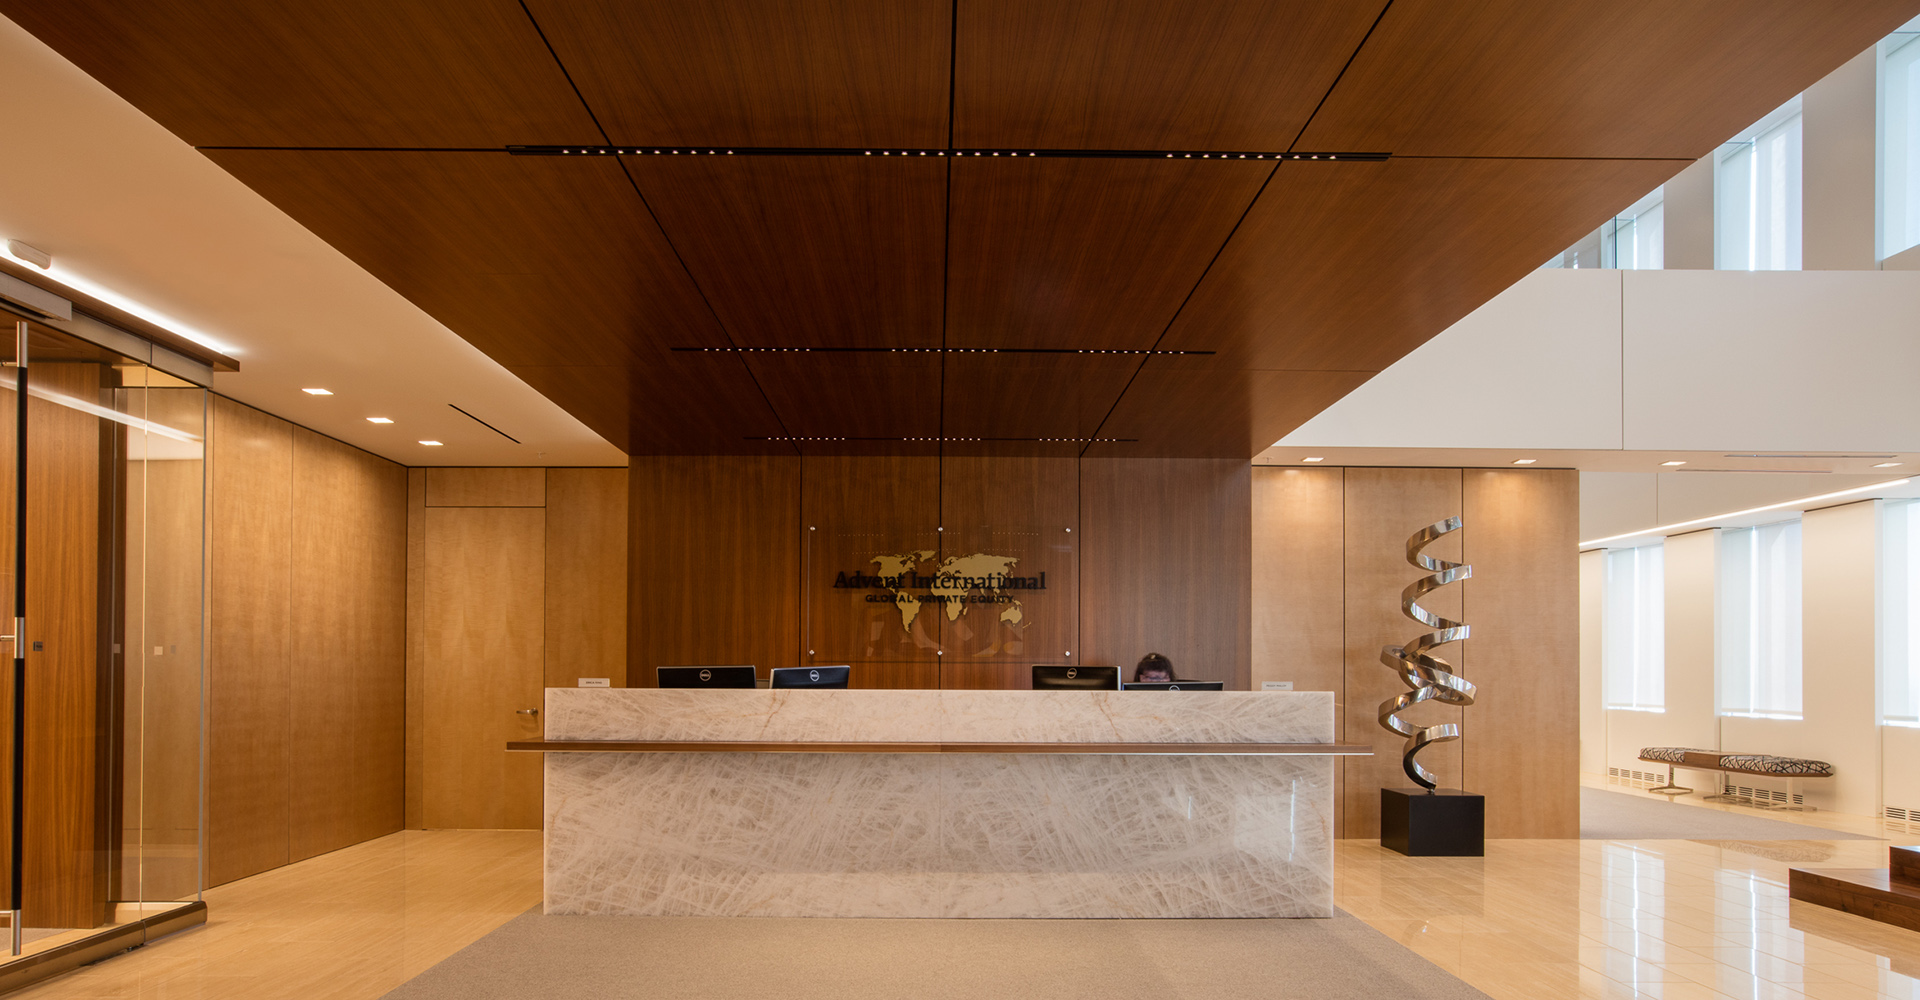
Scenario 1: The Seamless Integrated Wall System
In large-scale architectural projects, panels are used to create a continuous wood surface where the grain “flows” across multiple doors and walls.
-
Components: Sequence-matched flitches, MDF-core panels, and Z-clip mounting hardware.
-
Steps: Select a single flitch with enough square footage; number each panel in sequence; install starting from a central datum line; ensure 1/8-inch expansion gaps.
-
Relevance: This scenario utilizes the “identity” of the wood log to create a unified architectural space that solid wood boards could never achieve.
Scenario 2: High-Performance Laboratory or Office Cabinetry
Prioritizes the stability of the substrate to ensure doors do not sag or bind over time in climate-controlled environments.
-
Components: AA-grade maple veneer, plywood-core panels, and edge-banding.
-
Steps: Cut panels to size; apply matching 1.5mm wood edge-banding; finish with a high-solids conversion varnish.
-
Relevance: Unlike solid wood, these panels will not “move” seasonally, ensuring that high-precision hardware and drawer alignments remain functional.
Scenario 3: The Sustainable Luxury Feature
Focuses on using rare or exotic woods (like Ebony or Rosewood) in a responsible manner.
-
Components: Exotic veneer leaves, FSC-certified particleboard core.
-
Steps: Arrange leaves in a “book match” (mirror image); glue-press the leaves to the core; sand with high-grit (220+) paper to avoid “sand-through.”
-
Relevance: This highlights the environmental advantage of veneer, where a single log can produce 40 times the surface area of solid lumber.
Comparison: Scenario 1 focuses on visual continuity; Scenario 2 on mechanical stability; Scenario 3 on resource conservation. Readers should select their panel type based on whether they prioritize the “look” of the grain or the “strength” of the installation.
Planning, Cost, and Resource Considerations

Preparation is critical because wood veneer panels are thinner and more delicate than solid timber until they are finished.
Sample Planning & Budget Table
| Category | Estimated Amount | Explanation | Optimization Tips |
| Base Material | $5 – $15 per sq. ft. | Standard species (Oak, Maple) on MDF. | Buy pre-finished panels to save site labor. |
| Premium Veneers | $20 – $50 per sq. ft. | Rare flitches or specialized slicing (Rift Walnut). | Use sequence-matching only for “hero” walls. |
| Substrate Prep | $2 – $4 per sq. ft. | Furring strips or substrate leveling. | Ensure walls are plumb before installation. |
| Edge Treatment | $1 – $3 per linear ft. | Matching wood edge-banding or “edge-gluing.” | Use thick banding (3mm) for high-impact edges. |
Note: Figures are examples for educational purposes and vary based on flitch rarity and regional labor rates.
Strategies, Tools, and Support Options
Successfully working with veneer panels requires specialized technical strategies to manage the bond between the wood and the core.
-
Vacuum Pressing: Using atmospheric pressure to bond veneer to the core.
-
Advantages: Ensures an even, bubble-free bond even on curved surfaces.
-
Disadvantages: Requires specialized equipment and high-quality adhesives.
-
-
Edge-Banding: Applying a strip of wood to the exposed edges of the core.
-
Advantages: Makes the engineered panel look like a solid board; protects the core from moisture.
-
Disadvantages: The “seam” can be visible if the banding is not trimmed perfectly.
-
-
Cross-Banding: Placing a layer of wood grain perpendicular to the face veneer.
-
Advantages: Prevents the face veneer from “telegraphing” (showing the grain of the core).
-
Disadvantages: Increases the total thickness and cost of the panel.
-
-
Z-Clip Mounting: Interlocking metal rails for wall installation.
-
Advantages: Allows panels to be removed for maintenance; hides all visible fasteners.
-
Disadvantages: Requires 1/2-inch to 3/4-inch of depth behind the panel.
-
Safety, Risks, and Common Challenges
-
Veneer “Sand-Through”: Because the veneer is very thin, over-sanding will expose the glue and core. Prevention: Use orbital sanders with high-grit paper (220) and never stay in one spot.
-
Adhesive “Bleed-Through”: Glue seeping through the pores of the wood. Issue: Creates spots that will not accept stain. Mitigation: Use specialized veneer glues with high solids and pre-seal the wood if necessary.
-
Delamination: The veneer peeling away from the core. Risk: Usually caused by high humidity or poor glue coverage. Prevention: Maintain a stable environment (35-55% RH) and use a mechanical press.
-
Formaldehyde Emissions: Some MDF cores use urea-formaldehyde resins. Safety: Select “NAF” (No Added Formaldehyde) or “CARB Phase 2” compliant cores.
Maintenance, Best Practices, and Long-Term Management
The longevity of wood veneer panels depends on protecting the thin face from mechanical damage and UV exposure.
-
Ongoing Best Practices Checklist:
-
Weekly: Dust with a soft microfiber cloth. Avoid abrasive “scrub” pads.
-
Monthly: Wipe with a very slightly damp cloth and pH-neutral soap; dry immediately.
-
UV Management: Use window films to prevent “sun-bleaching” of dark veneers like Walnut or Cherry.
-
Humidity Control: Keep indoor relative humidity between 35% and 55%. Extreme dryness can cause the veneer to “check” (micro-crack).
-
Regular review of the “edge-banding” is also important; if the edge begins to lift, it should be re-glued immediately to prevent moisture from entering the core.
Documentation and Reporting
For architectural projects, documenting the specific “Flitch Number” is essential for future repairs or additions.
Tips for Organizing Information:
-
Keep a digital record of the log flitch number and the slicing method used.
-
Store samples of the original finish (stain/topcoat) for future color-matching.
Illustrative Examples:
-
Insurance Documentation: A homeowner records the flitch number of their mahogany walls; if a leak occurs, they can provide the data to find a similar log for replacement panels.
-
Repair Log: A facility manager records the specific “edge-banding” thickness (e.g., 0.5mm vs 3mm) to ensure repairs match the original impact resistance.
FAQ
Q: Can I sand and refinish wood veneer panels?
A: Yes, but only once or twice. Because the veneer is very thin, aggressive sanding will destroy the panel. It is best to use “chemical stripping” rather than heavy sanding for refinishing.
Q: Is “Laminate” the same as “Veneer”?
A: No. Veneer is 100% natural wood. Laminate is a printed plastic or paper image of wood. Veneer can be stained and oiled; laminate cannot.
Q: Why do some panels have a “mirrored” grain look?
A: This is called “Book Matching.” Two sequential slices from the log are opened like a book, creating a symmetrical pattern.
Closing Summary
Wood veneer panels represent a sophisticated balance between architectural beauty and industrial efficiency. By utilizing thin slices of natural timber bonded to stable cores, these panels provide the visual luxury of rare wood with superior dimensional stability and lower environmental impact. Success with this material requires careful planning of slicing methods, strict humidity control, and a disciplined approach to finishing that respects the delicate nature of the thin wood face.