Wood Slat Wall Guide: Design, Acoustics, and Installation Principles
The Comprehensive Guide to Wood Slat Walls
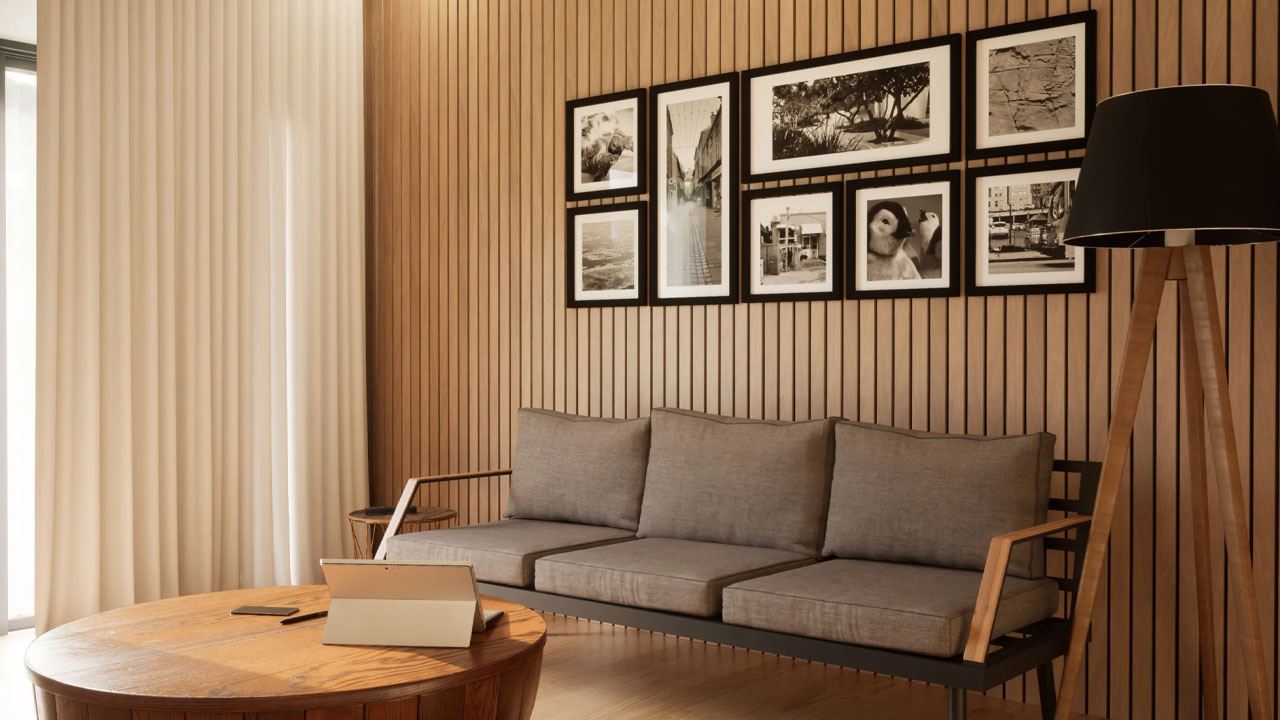
A wood slat wall is an architectural surface treatment characterized by a series of narrow, parallel wooden strips—known as slats—mounted onto a backing material or directly to a wall substrate. This design approach creates a rhythmic, linear texture that introduces depth and visual interest to vertical planes. Historically used in mid-century modern architecture, the contemporary application of slat systems has expanded to include sophisticated acoustic management and spatial zoning in both residential and commercial environments.
Understanding the technical attributes and installation requirements of these systems is essential for successful spatial planning. This guide provides a neutral, detailed overview of the various material categories, the mechanical role of acoustic backing, and the practicalities of long-term preservation. Readers will gain insight into how these systems influence room acoustics, fire safety compliance, and spatial perception, providing a textbook-quality framework for evaluating quality and durability.
Understanding Wood Slat Walls
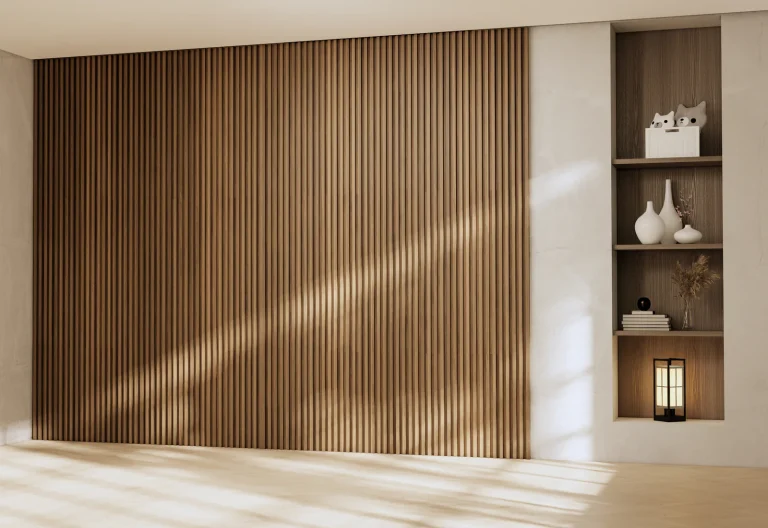
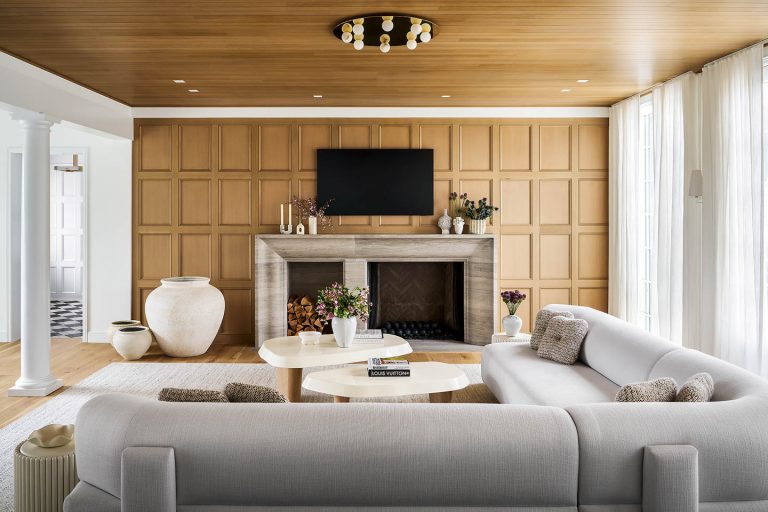
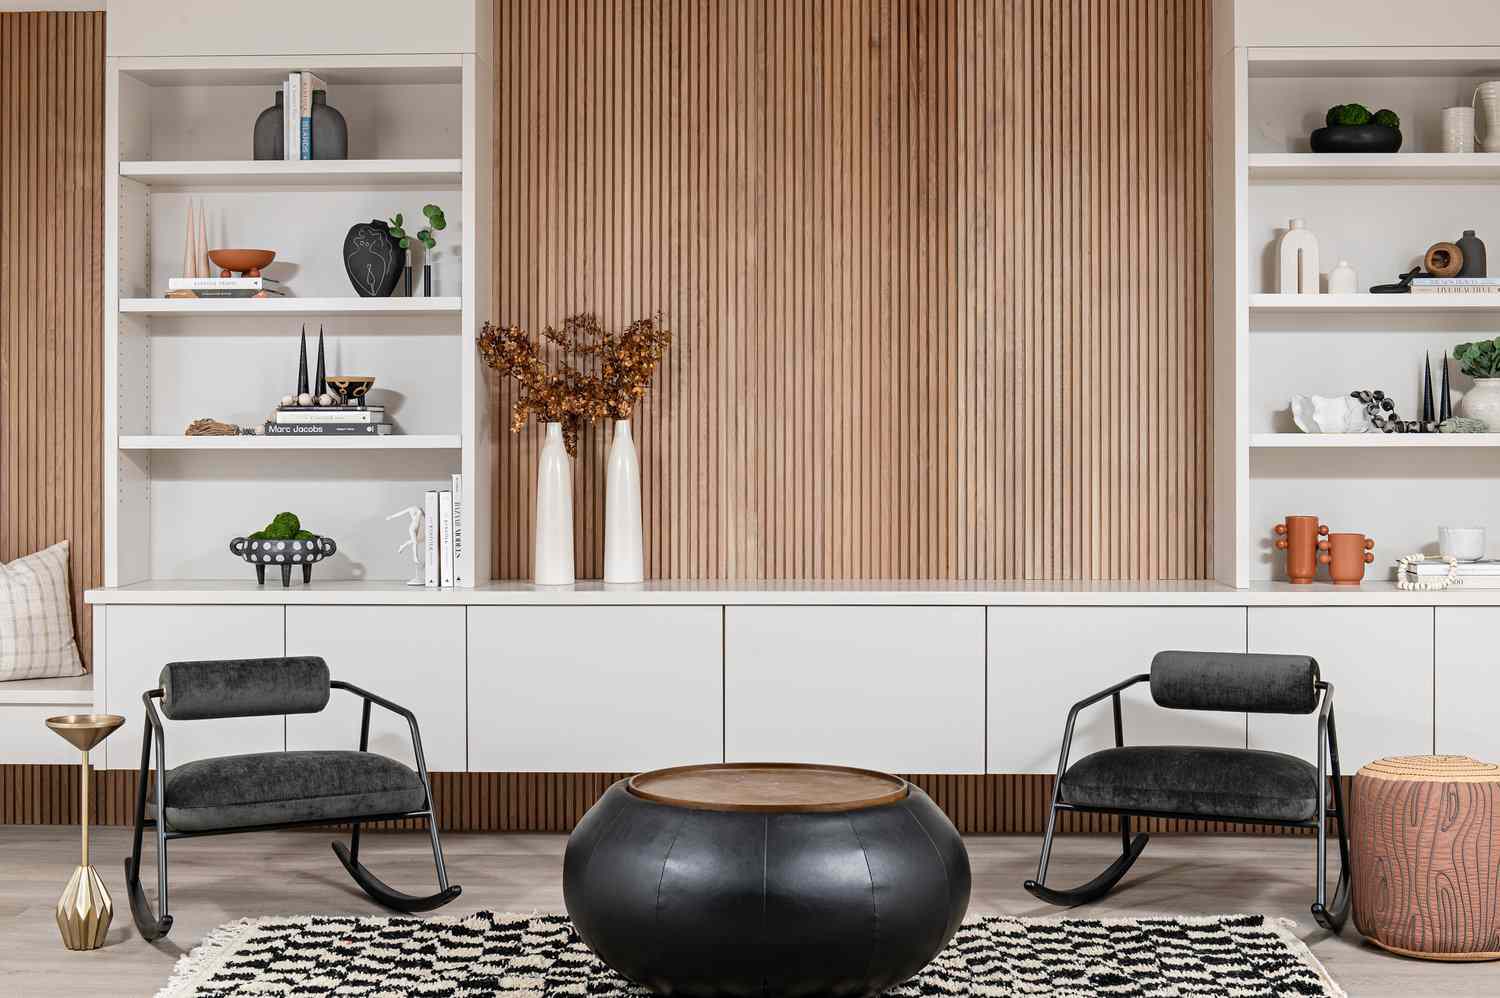
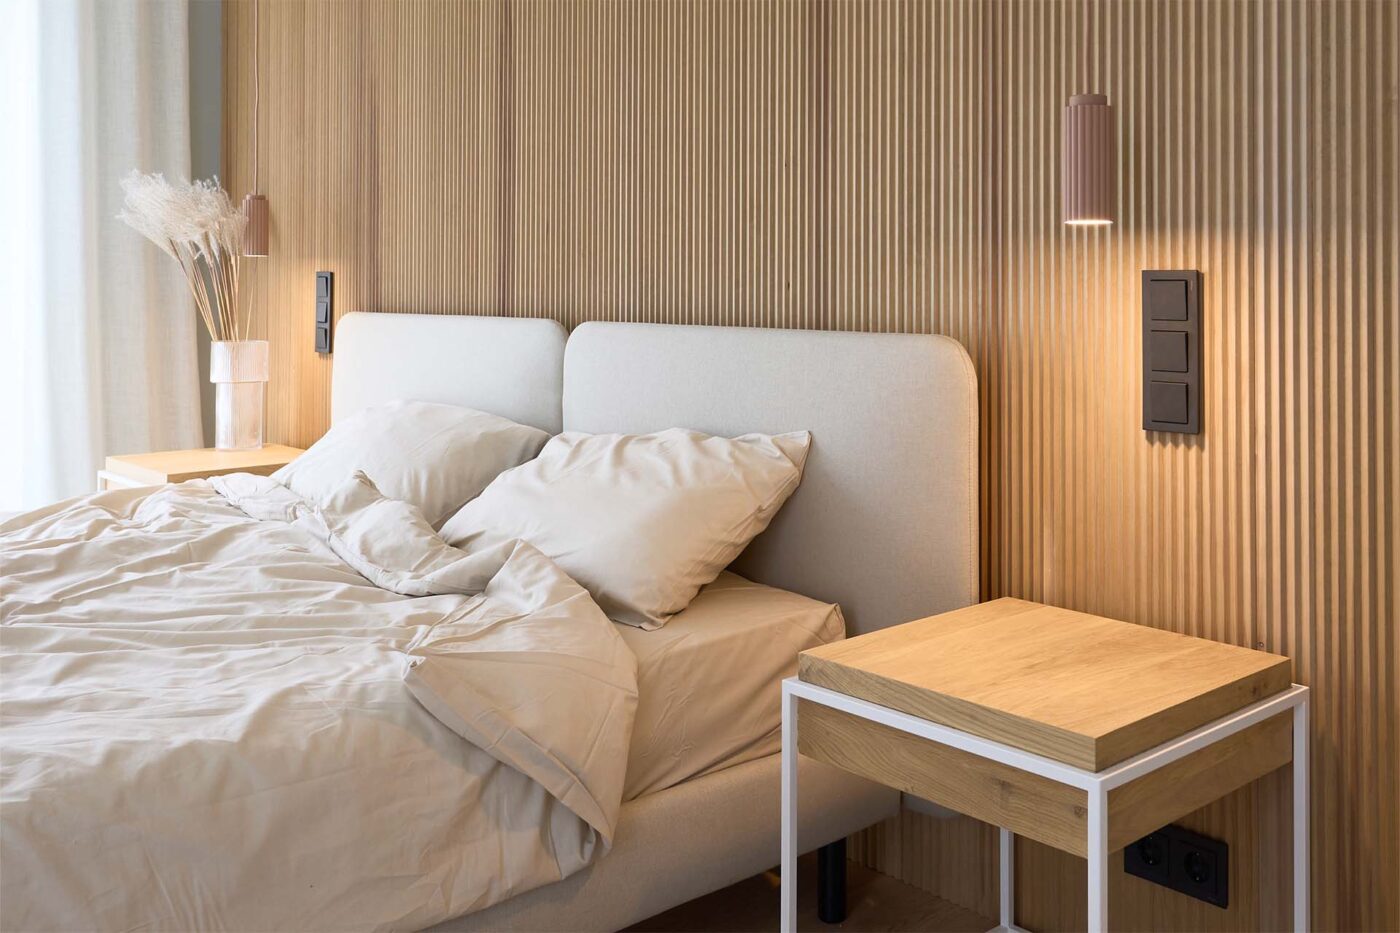
The core concept of a wood slat wall involves the repetition of linear wood elements to create a textured, “3D” surface. In modern interior applications, these slats are typically spaced at specific intervals—often equal to the width of the slat itself—to allow the backing material to remain visible. This backing often serves a functional purpose, such as providing a dark visual contrast or housing acoustic felt made from recycled polyester fibers. The primary goals of installing such a system include enhancing the aesthetic character of a room, concealing wall imperfections, and significantly reducing echo and reverberation.
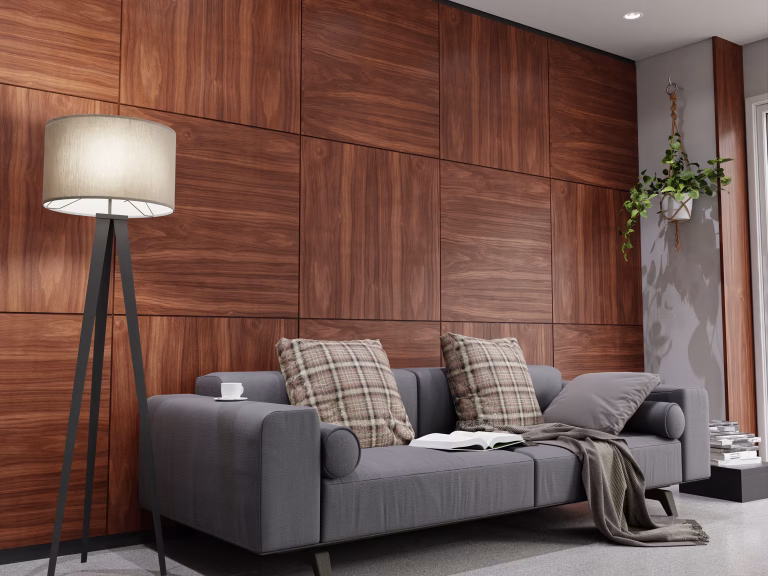
People commonly approach these systems as a “feature wall” solution. Unlike traditional solid wood paneling, which covers the entire wall surface, the slatted approach utilizes negative space (the gaps between the wood) to create a sense of movement. Typical outcomes include improved speech intelligibility in noisy environments and a tactile warmth that balances “harder” materials like glass, stone, or concrete. In professional settings, these walls are frequently used to define specific zones, such as reception areas or home office backdrops, where visual professionality and auditory clarity are paramount.
Key Categories and Material Variations
Slat systems are categorized by their core material, the type of finish applied, and the presence or absence of specialized acoustic backing.
Slat Wall Category Comparison Table
| Category / Type | Description | Common Use Case | Effort / Cost Level |
| Wood Veneer on MDF | Real hardwood layer bonded to a stable engineered core. | Modern living rooms; high-end offices. | Moderate |
| Solid Wood | Milled from single pieces of timber (Oak, Ash, Walnut). | Custom luxury builds; heavy-use areas. | High |
| Acoustic Felt Backed | Slats pre-mounted on sound-absorbing polyester felt. | Recording studios; home theaters; noisy cafes. | Moderate |
| Wood-Grain Wrap | MDF or plastic core wrapped in a decorative film. | Budget-conscious renovations; rental units. | Low |
| Unfinished Individual | Raw wood strips requiring manual spacing and finishing. | Specialized DIY projects; custom stain matching. | Very High |
Choosing between these categories involves a trade-off between natural character and dimensional stability. For example, solid wood offers authentic grain variation but is susceptible to expansion and contraction. Conversely, wood veneer on an MDF (Medium Density Fiberboard) core provides superior stability, making it the industry standard for large-scale wood slat wall installations where consistency is required.
Practical Scenarios or Thematic Applications
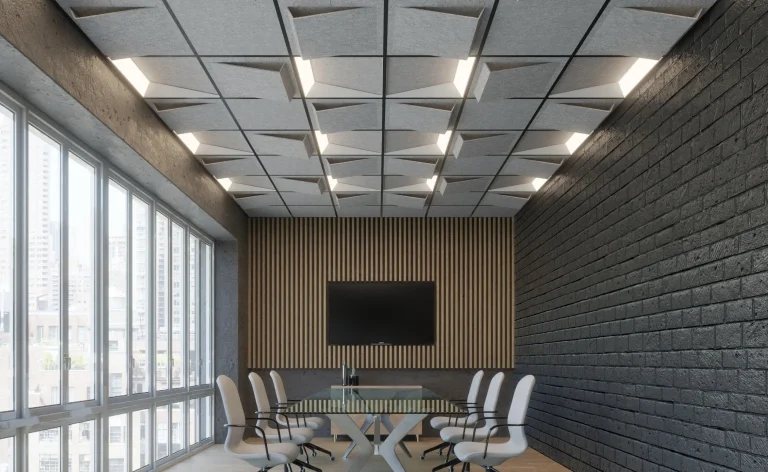
Scenario 1: The Acoustic Home Office
Focuses on the reduction of sound reverberation to improve audio quality for digital communication and focused work.
-
Components: Acoustic-backed slat panels, black PET felt, and hidden fasteners.
-
Steps: Measure the wall surface area; install furring strips if the wall is uneven; mount the panels vertically to maximize ceiling height; secure through the felt to hide screws.
-
Relevance: This scenario utilizes the “Noise Reduction Coefficient” (NRC) of the felt to create a professional-grade auditory environment.
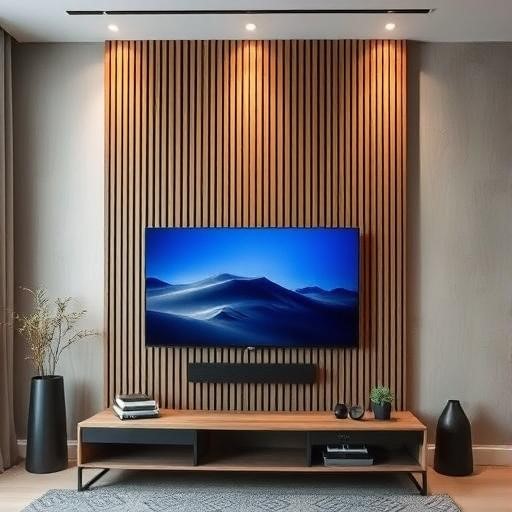
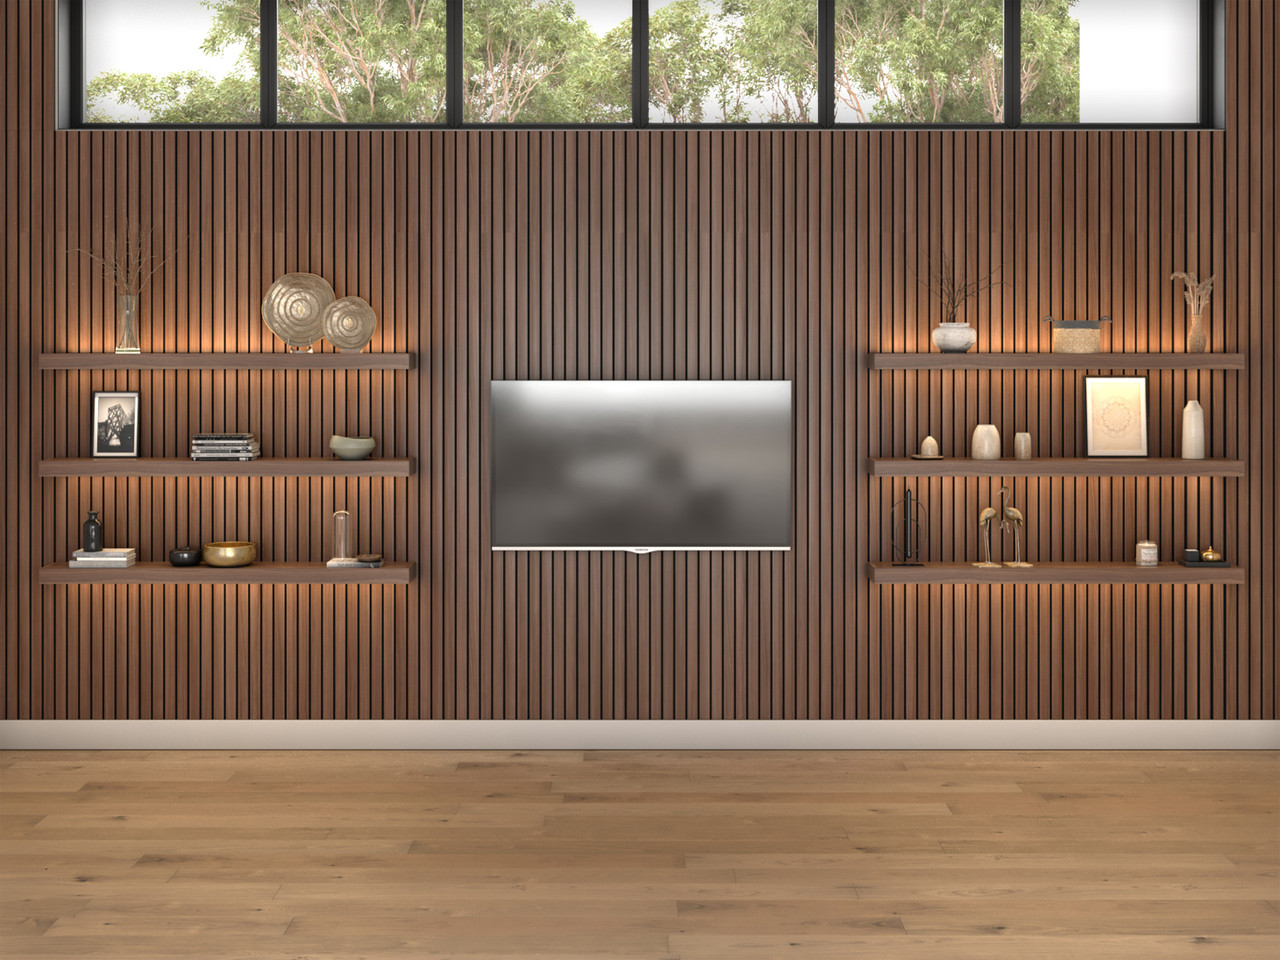
Scenario 2: The Integrated Media Center
Designed to create a visual anchor for a television while concealing cabling and supporting auxiliary equipment.
-
Components: Large-format veneer panels, cable management channels, and LED strip lighting.
-
Steps: Map out cable exit points; install panels around the TV mount; integrate lighting into the gaps between slats; cap edges with matching trim.
-
Relevance: This application demonstrates the “masking” capability of the slats, allowing technology to be integrated without visible wires.
Scenario 3: The Hospitality Entryway
Prioritizes visual impact and tactile warmth in a high-traffic hotel or restaurant lobby.
-
Components: Solid wood or high-grade veneer panels with Class A fire rating.
-
Steps: Acclimate panels to the room’s humidity for 72 hours; use a Z-clip mounting system for a “floating” appearance; apply a durable topcoat to resist cleaning chemicals.
-
Relevance: This highlights the “sculptural” role of the panels, where the natural grain becomes the primary art piece of the interior.
Comparison: Scenario 1 focuses on functional performance (acoustics); Scenario 2 on utility and concealment; Scenario 3 on aesthetic luxury. Readers should select a system based on whether their primary need is sound management or visual enhancement.
Planning, Cost, and Resource Considerations
Preparation is critical because wood-based products are sensitive to environmental conditions. Planning must account for the “acclimation period” where the material reaches equilibrium with the room’s humidity.
Sample Planning & Budget Table
| Category | Estimated Amount | Explanation | Optimization Tips |
| Materials | $10 – $35 per sq. ft. | Cost varies by wood species and backing type. | Purchase pre-finished panels to save site labor costs. |
| Labor | $8 – $20 per sq. ft. | Includes scribing to walls, cutting, and mounting. | Use modular panels with tongue-and-groove joints. |
| Substrate Prep | $1 – $4 per sq. ft. | Furring strips or drywall repair. | Ensure walls are plumb (flat) before installation. |
| Finishing/Sealing | $2 – $5 per sq. ft. | Oils, waxes, or fire-retardant lacquers. | Use water-based topcoats for lower VOC emissions. |
Note: Figures are examples and vary based on regional labor rates and material rarity.
Strategies, Tools, and Support Options
Successful implementation relies on technical strategies to manage the natural properties of the wood and the geometry of the room.
-
Direct Adhesive Mounting: Using high-grab construction adhesives.
-
Advantages: Fastest installation; no visible nail holes.
-
Disadvantages: Permanent; can damage drywall if removed.
-
-
Mechanical Fastening: Using trim screws through the backing material.
-
Advantages: Allows for panel removal; provides a secure hold in wall studs.
-
Disadvantages: Screw heads may be visible if not placed carefully within the gaps.
-
-
Furring Strips: Secondary wooden strips attached to the wall substrate.
-
Advantages: Creates a level plane on uneven walls; provides an air gap to prevent moisture transfer.
-
Disadvantages: Increases the depth of the wall, potentially requiring electrical box extensions.
-
-
Z-Clip Mounting: Interlocking metal rails for large-format panels.
-
Advantages: Provides a “floating” look; allows for easy removal for maintenance.
-
Disadvantages: Most expensive and labor-intensive support option.
-
Safety, Risks, and Common Challenges
-
Fire Safety Compliance: Wood is naturally combustible. Risk: Rapid flame spread. Prevention: Ensure panels meet local building codes (Class A or B fire ratings), especially in commercial spaces.
-
Moisture and Mold: Trapping moisture between the panel and an exterior wall. Issue: Rot and poor air quality. Prevention: Use furring strips to create an air gap (breathability).
-
Formaldehyde Off-gassing: Some MDF cores use glues that release gases. Safety: Select “NAF” (No Added Formaldehyde) or “CARB Phase 2” compliant panels.
-
Improper Acclimation: Installing material straight from a warehouse. Issue: The wood will shrink or expand, causing buckling. Prevention: Store panels in the destination room for 72 hours prior to installation.
Maintenance, Best Practices, and Long-Term Management
The longevity of a wood slat wall is determined by consistent environmental care.
-
Ongoing Maintenance Checklist:
-
Weekly: Dust with a soft microfiber cloth or vacuum with a brush attachment. Avoid abrasive cleaners.
-
Humidity Control: Maintain indoor relative humidity between 30% and 50% to minimize wood movement.
-
UV Protection: Use window treatments to prevent sunlight from “bleaching” or darkening certain wood species like Walnut.
-
Bi-Annually: Inspect the slats for “checking” (small cracks). If found, the wood may be too dry and require a room humidifier.
-
Annually: For oil-finished slats, reapply a high-quality maintenance oil to keep the fibers hydrated.
-
Documentation and Reporting
For high-value architectural projects, documenting material data is essential for future repairs or insurance purposes.
Tips for Organizing Information:
-
Keep the “Batch Number” of the panels; wood grain varies by lot, and future additions may require a match.
-
Store the “Finish Specification” (e.g., “Matte Polyurethane”) to ensure future touch-ups use compatible chemicals.
Illustrative Examples:
-
Repair Management: A building manager records the specific Z-clip spacing for a lobby wall; when a panel is damaged, they order a replacement cut to the exact dimensions of the hidden rail.
-
Safety Reporting: A facility manager keeps the “Flame Spread Rating” certificate in the building’s permanent file to comply with annual fire marshal inspections.
FAQ
Q: Can I install a wood slat wall in a bathroom? A: It is discouraged unless the material is specifically rated for high moisture. If used, ensure it is made of aluminum or high-pressure laminate (HPL) rather than standard MDF.
Q: Does it actually help with noise? A: Yes. The gaps between the slats break up sound waves (diffusion), and if an acoustic felt backing is used, it absorbs energy (absorption), which significantly reduces “flutter echo.”
Q: How do I clean the gaps between the slats? A: A vacuum with a crevice tool or a soft-bristled paint brush is the most effective way to remove dust from the recessed areas without damaging the felt.
Closing Summary
A wood slat wall represents a fusion of architectural tradition and modern acoustic science. By prioritizing proper acclimation, selecting the correct substrate preparation, and adhering to strict fire safety standards, users can ensure a high-performing and aesthetically enduring installation.